campos20
Regular
I'm pretty sure this is a new method and I'm not the inventor of it. I'm going to make a material on it and I thought the idea should be published here (for brainstorm, sharing and giving the proper credits). The inventor is Gabriel Dechichi Barbar and it's already explained here (portuguese).
Aim: A method to solve the 3x3 children friendly.
About: 8 steps, based on LBL/CFOP.
Pros: Use of no algs or notation, just two moves.
Cons: Common beginner's method cons (slow execution, lots of steps...) and it doesn't give too much ground for improving.
Prerequisites: understanding that there are 3 types of pieces (centers, edges, corners) and that the center are fixed (and they establish the color's face).
Although we're assuming you are teaching kids, this can be used to teach people of all ages (starting perhaps at 6 years old). Here, I'm going to describe the method and give some tips to teach kids, based on my experience. The notes on Spoilers are intended for you, the Teacher, not for the kids.
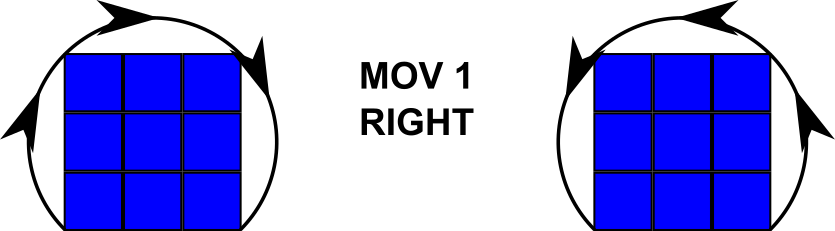
The two moves
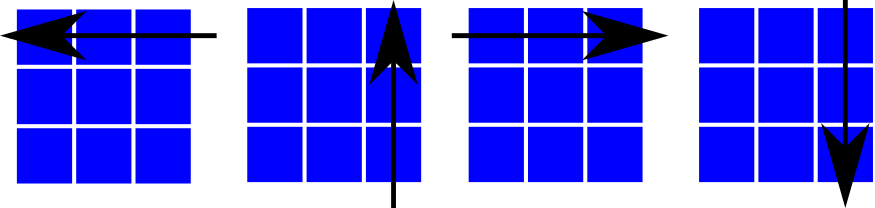
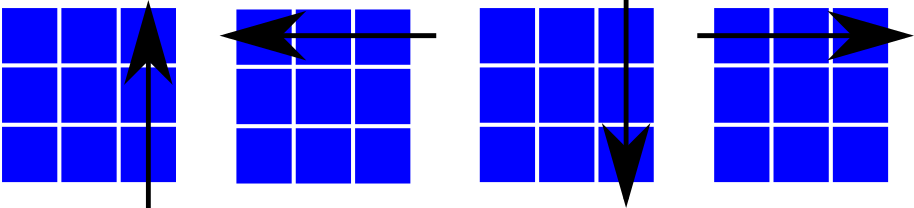
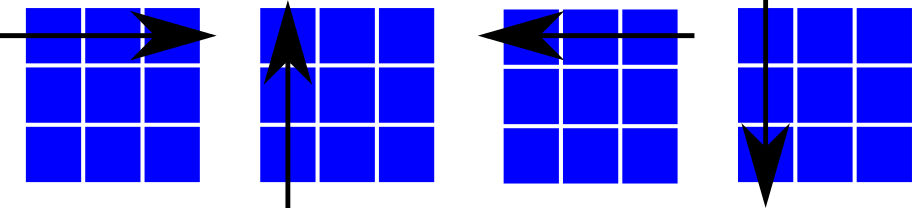
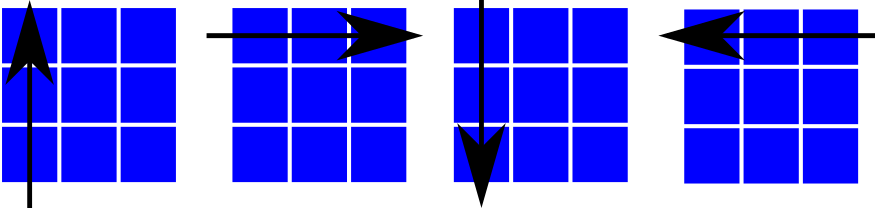
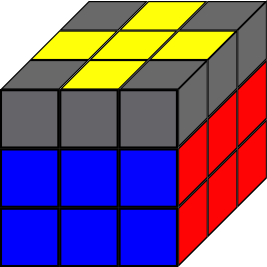
The cube is in front view.
Tip: First, teach the kid about centers, edges and corners and tell we are going to keep, most of the time, white on bottom and yellow on top.
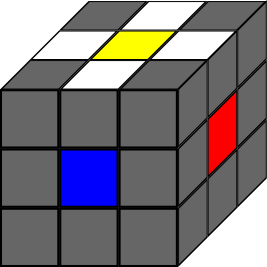
This step can be done intuitively of skipped. Note that the white cross must be done in the opposite color to white (usually yellow).
Tip: if it's difficult for the kid to achieve this, split it in two cases: easy and hard.
Easy case: white in the middle.
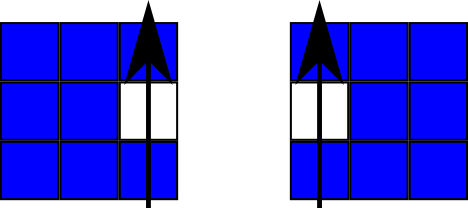
Just put the white on top.
Hard case: white is on top or bottom.
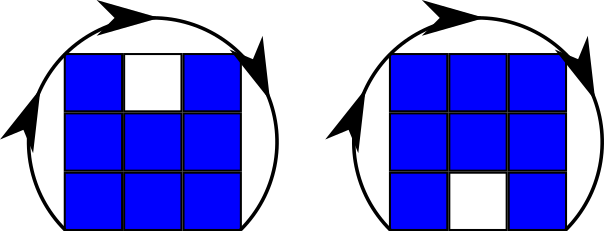
Hard case is not really hard. It's more about a different name kid friendly.
Do a rotation to turn the hard case into easy case.
Tip: sometimes, in easy case, there's already a white in place. We call this One Above The Other. You have to take it out of the way first. Just rotate the top.
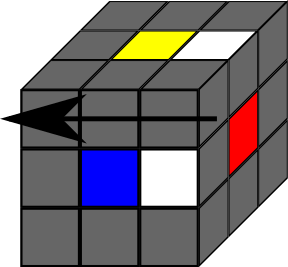
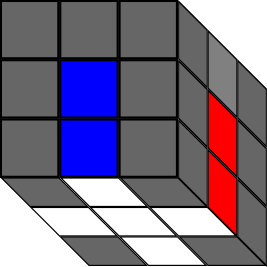
In this step, we put the white cross on the white face. First, we have to make the front sticker of the top front edge match the front center color, then rotate the front twice. Repeat 4 times to complete the white cross.
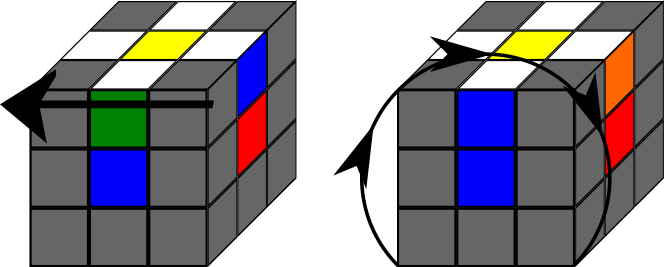
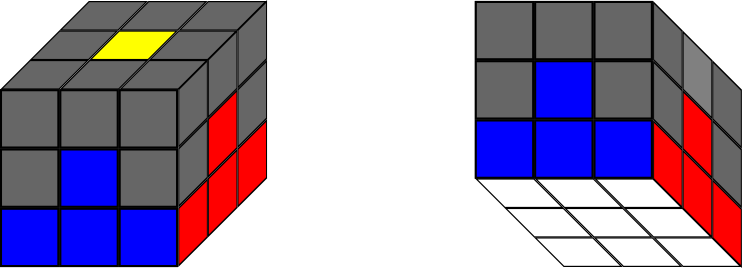
Locate a piece on the top layer that has a white sticker. This piece also has 2 other colors, let's say Blue and Red. Rotate the top layer until this piece is over Blue and Red face at the same time.
The easiest case there is when we have white on the top layer, but not facing the top. If that's the case, put white facing you.
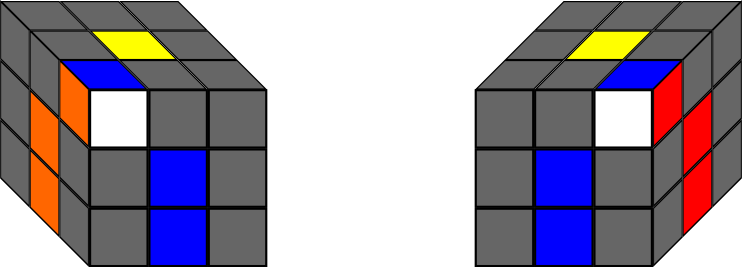
If the piece is on the left, do the Move 1 Left. Is it's on the right do the Move 1 Right.
Other cases
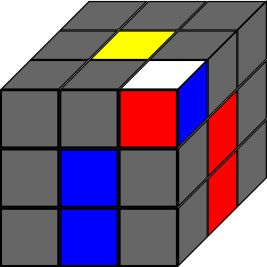
If white is on top, we have to do the Move 1 until the piece is in the right spot. You can choose either Move 1 Left or Move 1 Right. The Move 1 has to be performed 3 times.
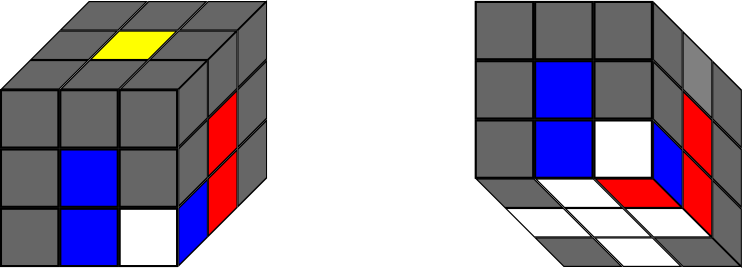
Just repeat the Move 1 until you get it correctly oriented.
Aim: A method to solve the 3x3 children friendly.
About: 8 steps, based on LBL/CFOP.
Pros: Use of no algs or notation, just two moves.
Cons: Common beginner's method cons (slow execution, lots of steps...) and it doesn't give too much ground for improving.
Prerequisites: understanding that there are 3 types of pieces (centers, edges, corners) and that the center are fixed (and they establish the color's face).
Although we're assuming you are teaching kids, this can be used to teach people of all ages (starting perhaps at 6 years old). Here, I'm going to describe the method and give some tips to teach kids, based on my experience. The notes on Spoilers are intended for you, the Teacher, not for the kids.
The two moves
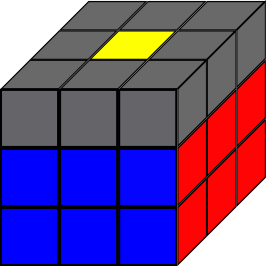
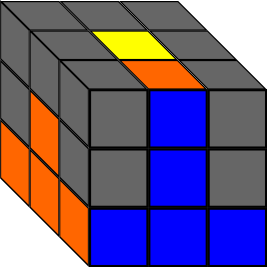
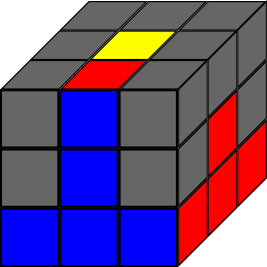
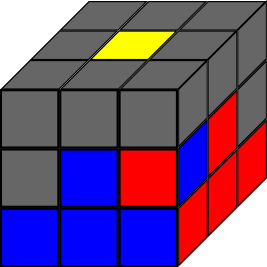
- Move 1 right hand
- Move 2 right hand
- Move 1 left hand
- Move 2 left hand
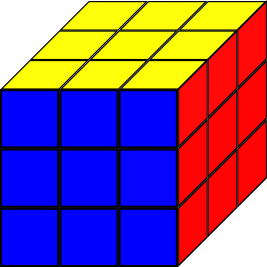
The cube is in front view.
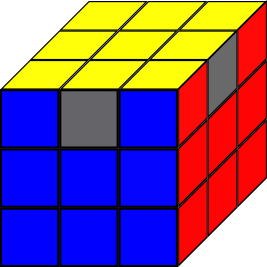
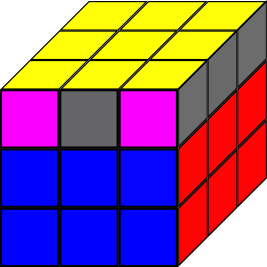
Personally, for Move 1 I say: Hide, Up, Back, Down.
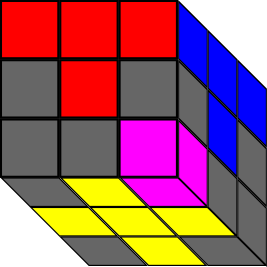
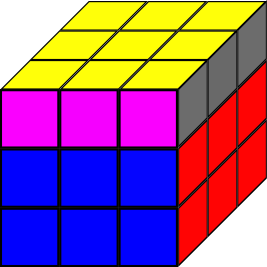
For Move 1 Right we hide this sticker (pink)

on the left face.
For Move 1 Right we hide this sticker (pink)
on the left face.
Blue face is F, what makes Move 2 be Sexy Move (R U R' U') and Move 1 its inverse (U R U' R').
Tip: First, teach the kid about centers, edges and corners and tell we are going to keep, most of the time, white on bottom and yellow on top.
Step 1 - White cross in Yellow
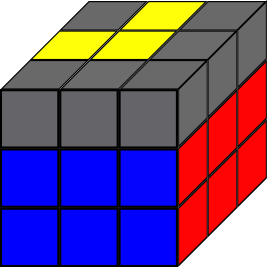
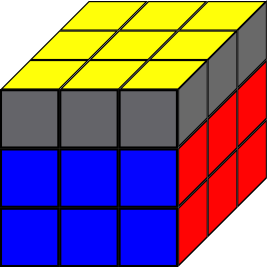
This step can be done intuitively of skipped. Note that the white cross must be done in the opposite color to white (usually yellow).
Tip: if it's difficult for the kid to achieve this, split it in two cases: easy and hard.
Easy case: white in the middle.
Just put the white on top.
If it's on the right side, do R. If it's on left, do L'.
Hard case: white is on top or bottom.
Hard case is not really hard. It's more about a different name kid friendly.
Do a rotation to turn the hard case into easy case.
If white is on top or bottom, do an F move.
Tip: sometimes, in easy case, there's already a white in place. We call this One Above The Other. You have to take it out of the way first. Just rotate the top.
Do U moves until the spot is clear.
Before performing any of the previous, first ask the kid to locate and point a white edge, without lifting the cube from the table. Ask him/her to locate by rotating the entire cube keeping the yellow on top. Kids tend to randomly rotate the cube and get lost or select corner. The strange case here is when the white is on the white face. In that case, we must lift the cube. That's ok. This case can be considered the easy one. We must take care the the One Above The Other case as well.
Step 2 - White cross
In this step, we put the white cross on the white face. First, we have to make the front sticker of the top front edge match the front center color, then rotate the front twice. Repeat 4 times to complete the white cross.
Step 3 - First layer
Locate a piece on the top layer that has a white sticker. This piece also has 2 other colors, let's say Blue and Red. Rotate the top layer until this piece is over Blue and Red face at the same time.
The easiest case there is when we have white on the top layer, but not facing the top. If that's the case, put white facing you.
If the piece is on the left, do the Move 1 Left. Is it's on the right do the Move 1 Right.
Other cases
- White facing top
If white is on top, we have to do the Move 1 until the piece is in the right spot. You can choose either Move 1 Left or Move 1 Right. The Move 1 has to be performed 3 times.
- Piece incorrectly oriented
Just repeat the Move 1 until you get it correctly oriented.
- If there's no white sticker on top, they are all on the bottom, perhaps in the wrong spot. If you do Move 1, the piece on the bottom layer goes to the top layer.